Table of Contents
How to Mount a Monitor in 7 Steps
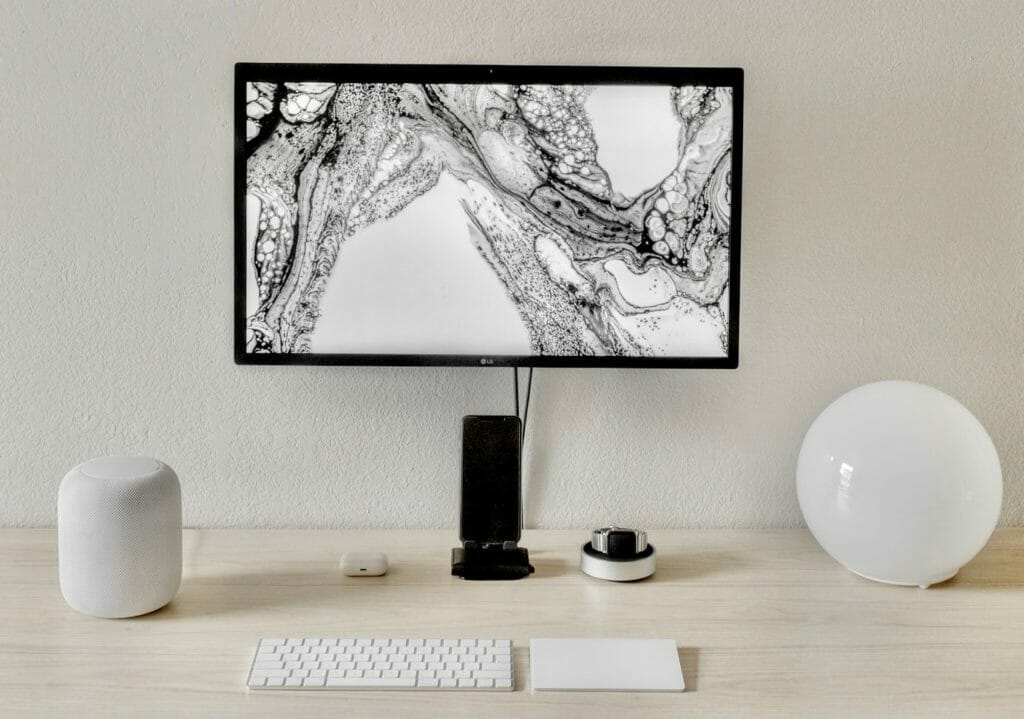
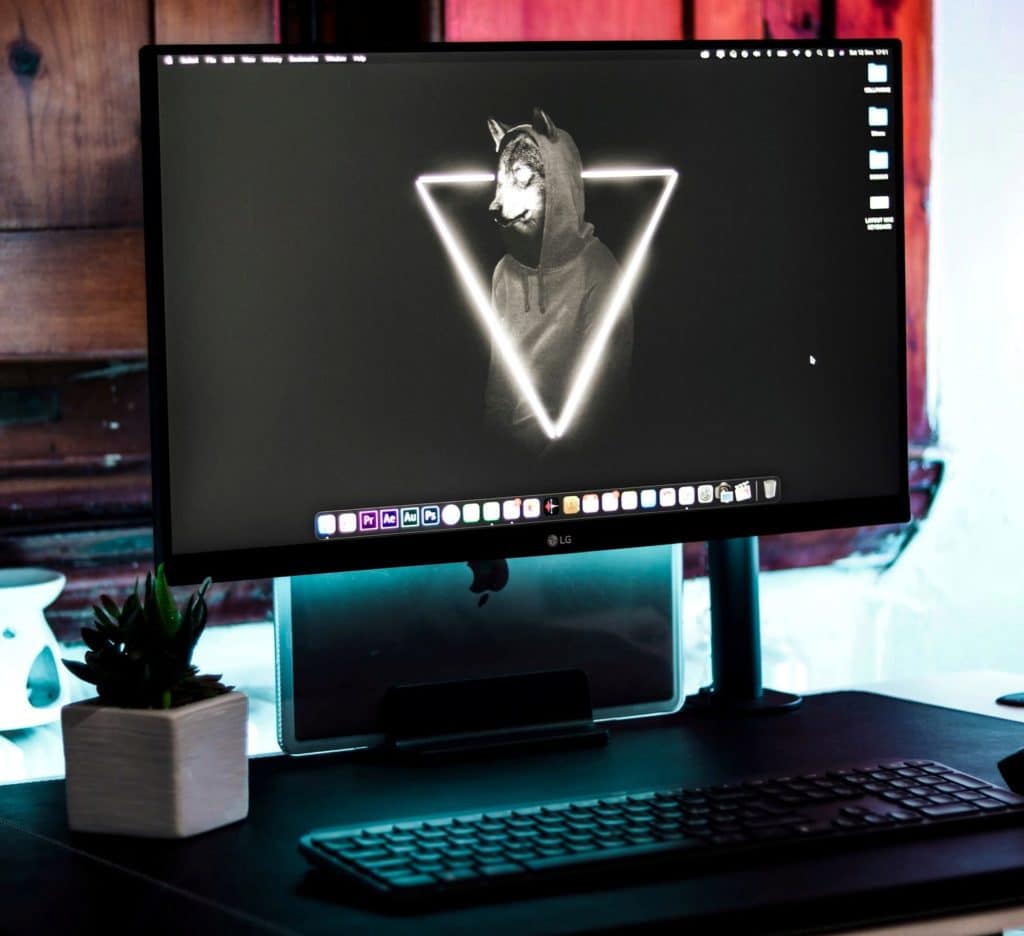
If you’re looking to provide more versatility to your desktop setup, mounting your PC monitor could certainly do the trick. A mounted monitor will enable you to keep your display in a safe and convenient location suited to your specific needs.It will also enable you to make better use of your desk space, while also offering greater potential flexibility and better ergonomic support.
Just about every monitor on the market can be mounted, and many modern models even come with their own mounting plate on the back to make the process more straightforward. The team at HotRate has put together this guide to run you through mounting your own monitor at home.
Before setting out, make sure that your monitor is VESA-compatible. A compatible monitor will come with standard mounting holes drilled into the back of the unit. The standard is VESA 100, which uses a square hole pattern 100mm wide on each side. If you can’t find these holes on your monitor, then you can purchase a mount adapter to compensate.

Next, decide on which type of mount you’re looking for. Aside from the standard freestanding desk mount that your monitor likely came packaged with, there are a few common options that each have their own applications.
- Side-clamp mounts will attach to the edge of your desk with a clamp and provide the most flexibility of any display mount and free up a huge amount of desk space. These mounts often use an adjustable monitor arm, allowing you to move your monitor more freely as the need arises.
- Through-the-desk mounts are typically installed in the cable management holes that come standard in many desks to provide a sturdy, semi-permanent stand for your monitor.
- Wall mounts are the most permanent fixtures, requiring the mount to be securely screwed into a solid wall stud. These mounts will allow you to fully free up your desk space and push your monitor flush against the wall when not in use.
- If you see yourself using multiple monitors simultaneously, then a dual- or triple-monitor stand will likely suit you best. Dual monitor mounts are available in all of the above categories, but options for those which support more than two monitors tend to be more limited due to weight restrictions.
Most mounting kits will come with all of the necessary tools, parts, and accessories required for installation. However, you should at least keep a Phillips head screwdriver on hand, as this is the one tool that some kits do not tend to include. In addition, for a more detailed guide on monitor mounts see our ‘What are the Benefits of Using Monitor Mounts?‘ post.

How to Install a Side-Clamp Mount
- Install the bracket to the base of the mounting arm, ensuring all of the screws are correctly lined up and tightened completely.
- Attach the clamp to the bracket. Most mounts will come with a range of holes which allow it to be adapted to the thickness of your desk.
- Twist the knob counter clockwise to loosen the clamp. Position the clamp in your desired location at the edge of your desk and tighten the clamp by twisting the knob clockwise. Continue to tighten until the mount feels secure enough to hold your monitor, without being so tight as to damage your desk.
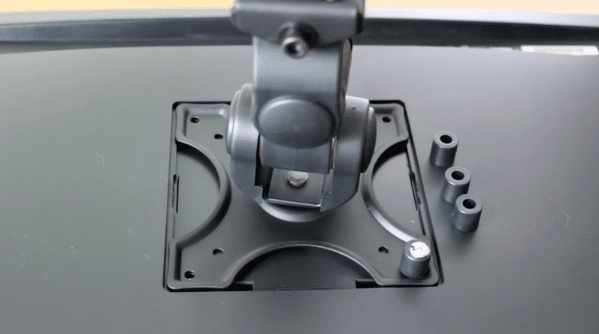
- Screw the rear mounting plate to the back of your monitor. Make sure that the arrow on the plate is pointing upwards.
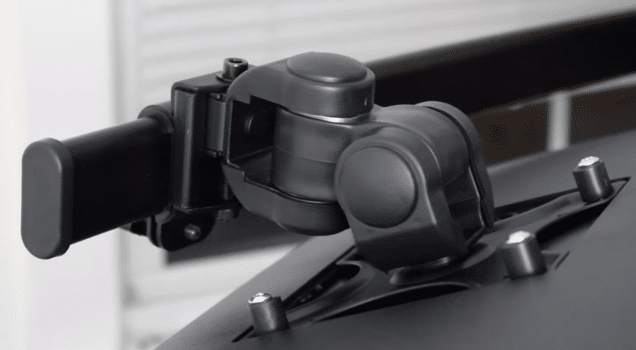
- Attach the monitor plate to the mount arm, repeating this for any additional monitors if using a multi-monitor mount.
- Adjust the mount arm to your desired height and angle and tighten joints to hold the arm in position. Make sure to ensure the right amount of tension, as too much or too little could cause your monitor to sway or sink toward the desk.
How to Install a Through-the-Desk Mount
- Attach the mounting bracket with the support screw to the bottom of the mounting arm, with the support screw sticking down.
- Stick the included foam pads to the bracket in order to provide greater support and prevent any damage to your desk.
- If your desk already has an appropriate hole cut through it for the likes of cable management, then you can skip this step. Otherwise, you will need to drill a hole into your desk using a drill bit with a slightly larger width than the mount screw.
- Slide the screw through the hole and tighten it from below using the provided washer and knob. Ensure that you sufficiently tighten the mount so that it stays secure and does not wobble at all.
- Screw the rear mounting plate to the back of your monitor. Make sure that the arrow on the plate is pointing upwards.
- Attach the monitor plate to the mount arm, repeating this for any additional monitors if using a multi-monitor mount.
- Adjust the mount arm to your desired height and angle and tighten joints to hold the arm in position. Make sure to ensure the right amount of tension, as too much or too little could cause your monitor to sway or sink toward the desk.
How to Install a Wall Mount
- Locate the ideal stud within your wall on which you want to mount your monitor. These will typically be spaced either 16 or 24 inches from one another. You should not attempt to install a wall mount anywhere else on the wall, as this will risk the structural integrity of both the mount and the surrounding wall.
- Decide upon the appropriate height for your mount. Using a pencil, mark out the holes at the foot of the mount where the bolts need to be attached. Then, drill a hole through each of these markings.
- Install the mount arm to the wall using the included screws and washers, ensuring that the arm is firmly attached and does not wobble at its base.
- Screw the rear mounting plate to the back of your monitor. Make sure that the arrow on the plate is pointing upwards.
- Attach the monitor plate to the mount arm, repeating this for any additional monitors if using a multi-monitor mount.